+86 512 5879 0108
+86 512 5879 0108
Repairing an EPDM rubber roof can be a straightforward process if you have the right tools and materials, and follow the necessary steps carefully. Here's a step-by-step guide to repairing an EPDM rubber roof using a DIY repair kit:
Ensure the area around the damaged area is clean and dry.
Remove any debris or dirt from the surface of the EPDM rubber membrane.
Use the weathered membrane cleaner and a cleaning brush to thoroughly clean the area around the damage. This is crucial to ensure the repair patch will adhere properly.
Wipe the area clean with cleaning rags.
Determine the extent of the damage. If the damage is small, a patch may be sufficient. For larger tears or holes, you may need to use a section of EPDM rubber membrane.

Using scissors, cut a piece of EPDM rubber membrane or peel-and-stick EPDM cover tape that is slightly larger than the damaged area.
Ensure the edges of the patch are smooth and free of any rough spots.
If using splice adhesive, apply the splice primer to the edges of the damaged area and the back of the patch. This will help the adhesive bond better.
Apply the splice adhesive or lap sealant around the edges of the damaged area, creating a bead of adhesive.
If using a peel-and-stick patch, skip this step.
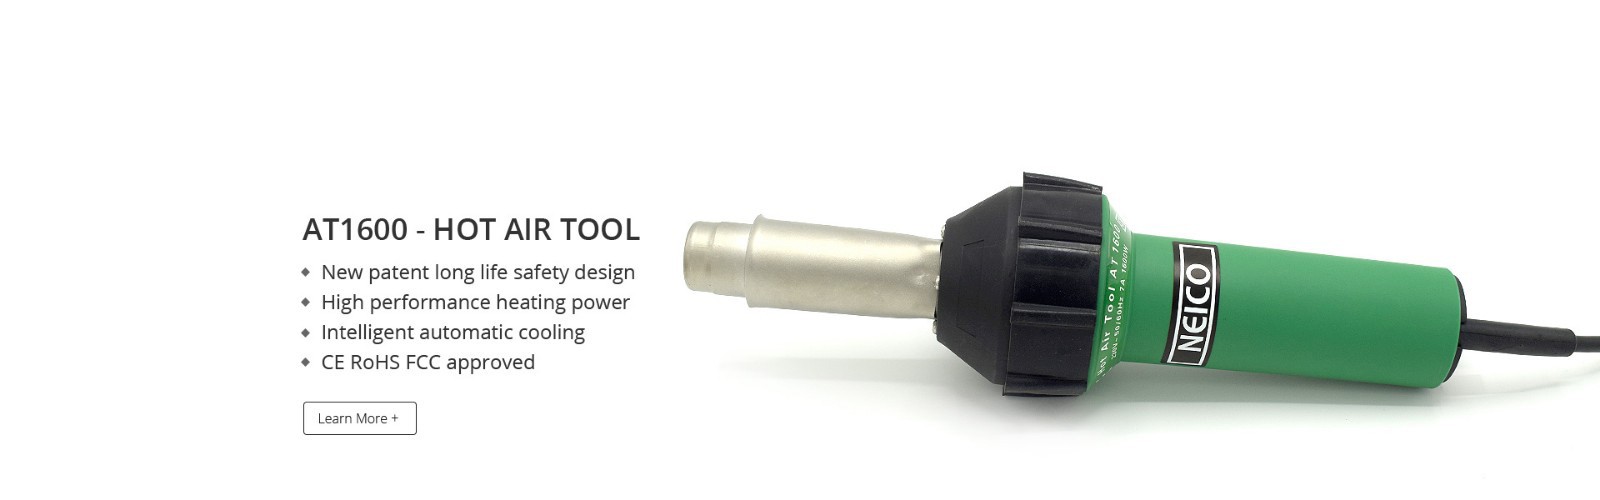
Apply adhesive usually requires the use of a brush or spray gun, and the following products from NEICO can meet your needs


Carefully position the patch over the damaged area, ensuring that it covers the entire damaged area with at least an inch of overlap on all sides.
Press the patch firmly into place, using a seam roller to ensure good adhesion.
NEICO has professional roofing scissors for you to choose from


Apply lap sealant around the edges of the patch to create a waterproof seal.
Use a paintbrush to smooth the sealant and remove any excess.

Allow the adhesive and sealant to dry completely before exposing the area to water. This can take several hours or longer, depending on the product used.

Always follow the manufacturer's instructions for the specific products you are using.
Wear protective gloves and eyewear when working with adhesives and sealants.
If the damage is extensive or you are unsure of your ability to repair it, consider hiring a professional roofer.
In order to ensure smooth laying, please be sure to use professional rollers to compact the EPDM RUBBER surface during laying. NEICO has various sizes and models of special roof rollers for you to choose from
1.Heavy duty rollers:They can help you flatten your roof quickly and efficiently

2.Hand roller:They can help you flatten the seams more carefully, especially for corners


By following these steps, you can successfully repair an EPDM rubber roof using a DIY repair kit. Remember, proper preparation and attention to detail are key to ensuring a long-lasting repair.
Previous: SAFETY AND MAINTENANCE TIPS FOR HEATGUNS
Next: Plastic Welding Machine
ZHANGJIAGANG NEICO TOOLS CO., LTD.
Add.: NO.17-18, Building 6, International Trade City, Tangqiao Town, Zhangjiagang 215600, Jiangsu, China
Mob: +86 139 1570 3340
Tel.: +86 512 5879 0108
Fax: +86 512 5879 0108
Skype: neicotools
E-mail: sales@neicotools.com
Web: www.neicotools.com
Products
Site Map